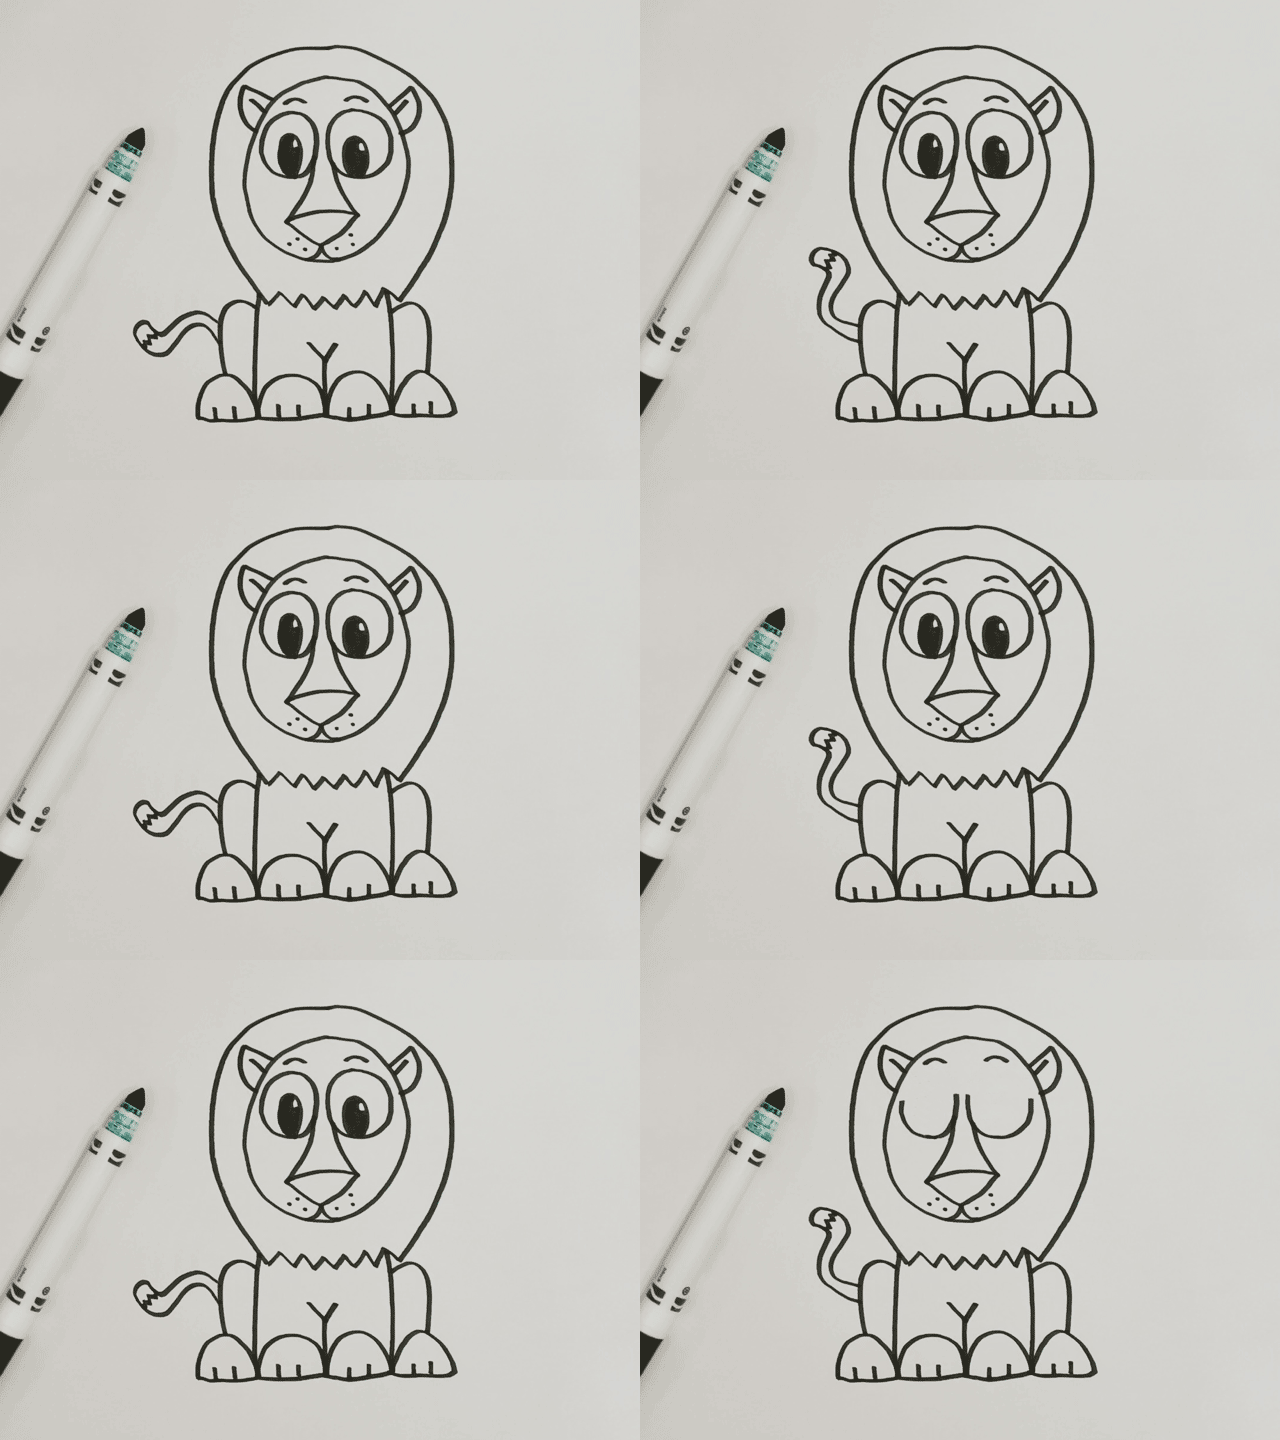
Watch my directed drawing video on how to draw a cartoon lion
Hey everybody, today I would like to show you how to draw an easy cartoon lion 🦁. Lions can be ferocious when they need to be, but our lion is going to be in a pretty good mood. My goal was to make this directed drawing easy enough for young kids in preschool and kindergarten, but also entertaining for older kids and adults just getting starting with drawing cartoons. All you need is a pencil, pen or marker and sheet of paper. And of course feel free to color it in afterwards if you’d like. Have fun! – Patrick O.
Follow these directed drawing instructions that make a cartoon lion drawing easy to do:
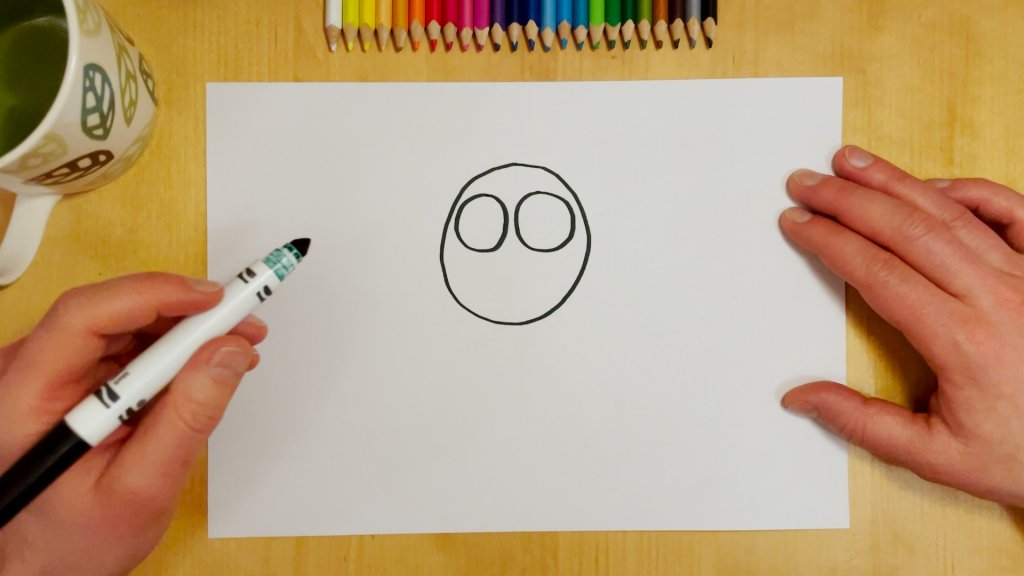
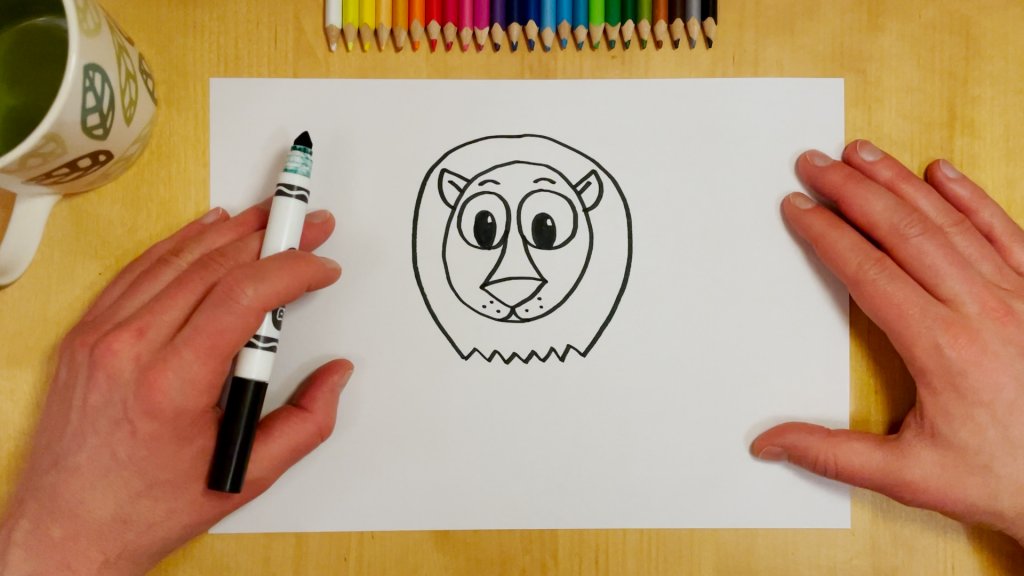
- First, let’s draw the cartoon lion’s head and eyes. Draw an oval in the middle of the page near the top for the head of the lion. For the eyes of the lion, draw two smaller circles or ovals next to each other inside the first circle, somewhere near the top.
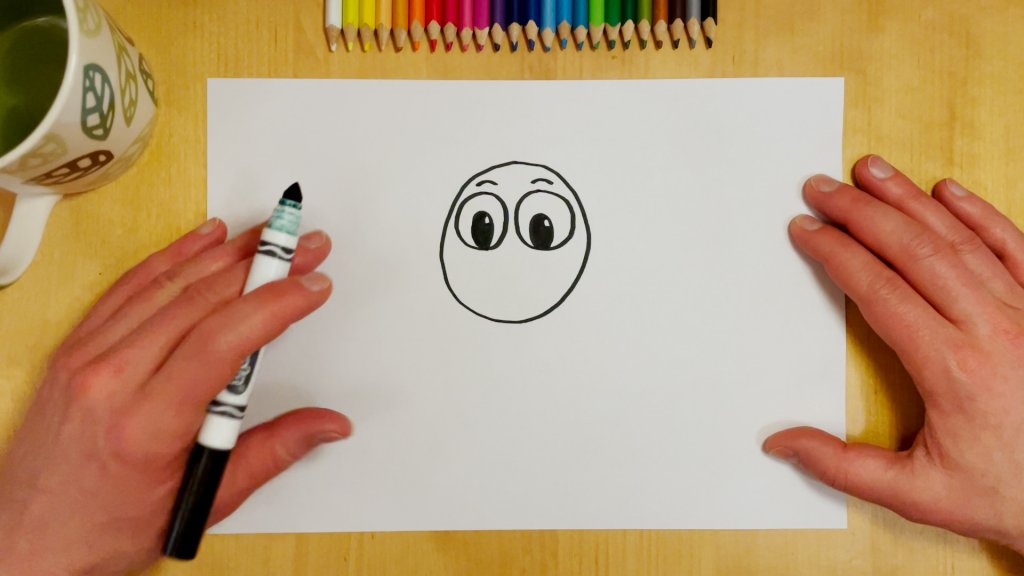
- Add some pupils and eyebrows to the lion’s eyes. Draw two smaller circles inside the eyes, and fill them in. Leave a little white space at the top of the pupils to give them a shiny look. Finish by drawing some curved lines above the eyes for the eyebrows. Angle them down for an angry look, or up for a happy look.
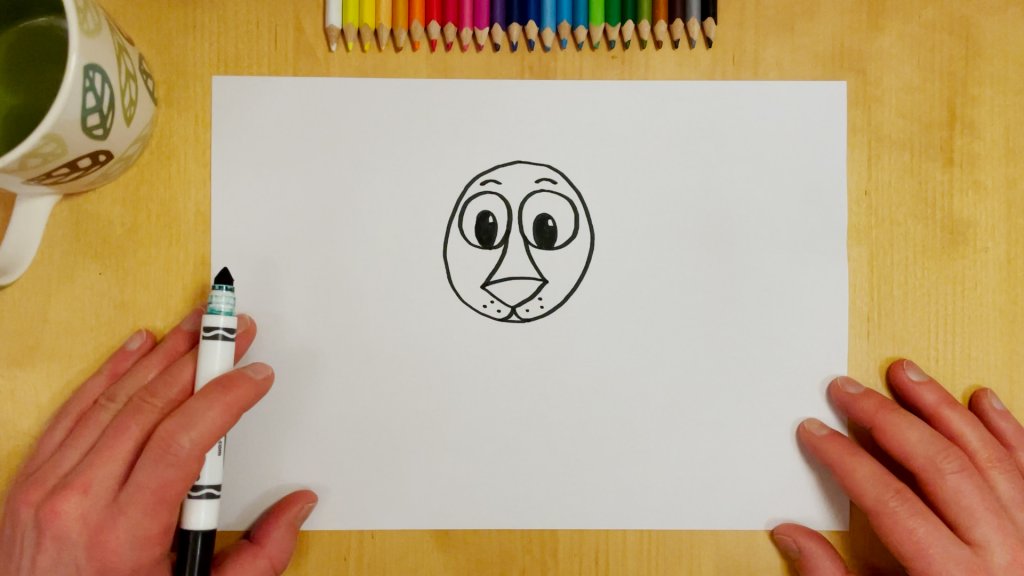
- Next the cartoon lion’s nose and mouth. Draw a triangle pointing down near the bottom of the head. Then draw two curved lines down from the bottom point of the triangle to create the lion’s mouth. Add some dots on the cheeks where the whiskers stick out. Finish the lion’s nose by drawing lines up from the outside of the nose to the inside of each eye. This gives the lion a snout that sticks out.
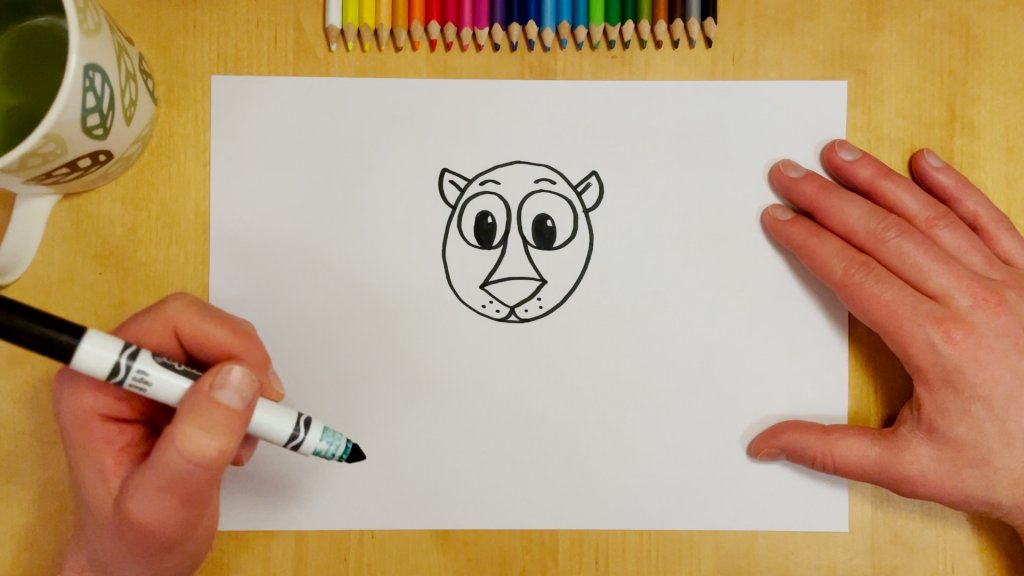
- Then draw the lion’s ears. Draw an angled line out from one side of the head, near the eye. Then draw a curved line from the end of the first line, back to the head. Finish with a small line inside the ear to give it some thickness. Now draw another ear the same way on the other side of the head.
- Draw the cartoon lion’s mane. A little above the head start drawing a big curved line that comes down and around the left side of the head. When you reach a spot below the head, start to draw a zig-zagged line across the bottom to give the mane a shaggy look. Then draw a similar curved line up the right side connecting it back to the top.
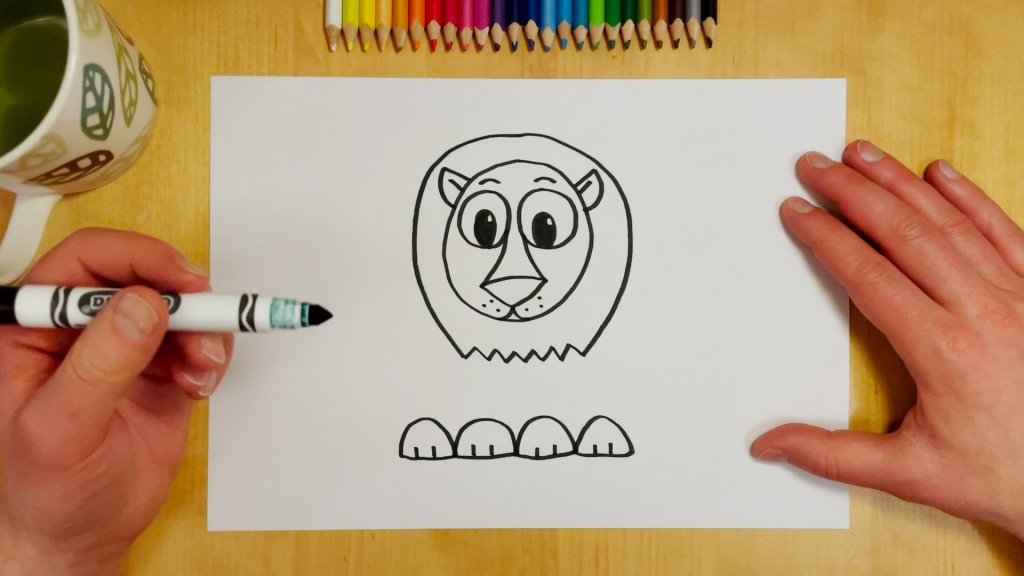
- Now let’s draw the lion’s paws. Start by drawing two half circles side by side a little bit below the bottom of the mane. Then draw another half circle on either side of the first two for the hind leg paws. So now you should have four half circles in a row, with the flat sides down. Draw three little lines at the bottom of each paw to finish them up.
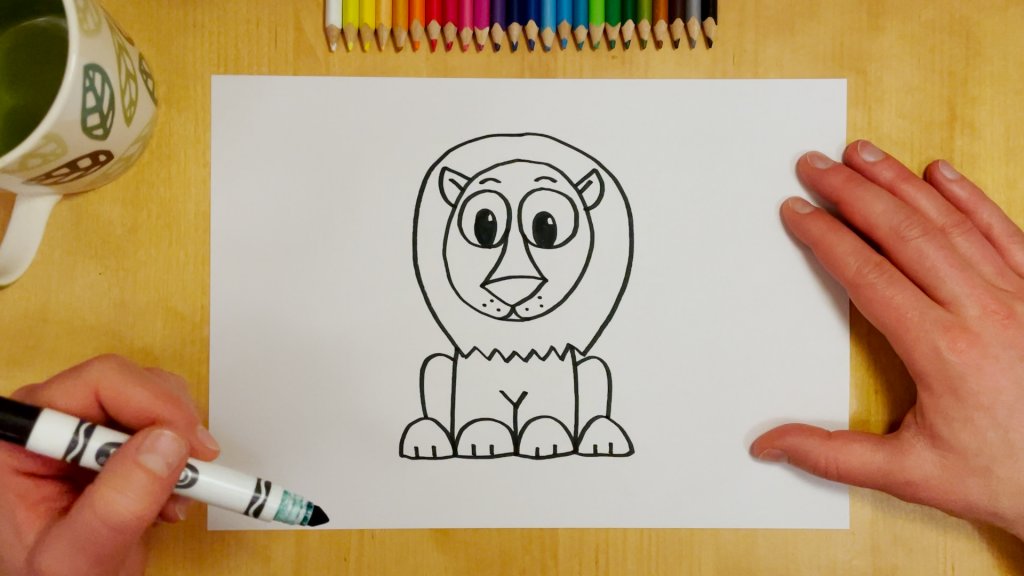
- Finish the lion’s body and legs. Draw a line up to the mane starting between the two left right paws. Do the same on the other side. Then draw a Y-shaped line up from the two middle paws to separate the lion’s front legs and stomach. Finish by drawing some curved lines down from the outside of the body down to the middle of the outside paws to create the hind legs.
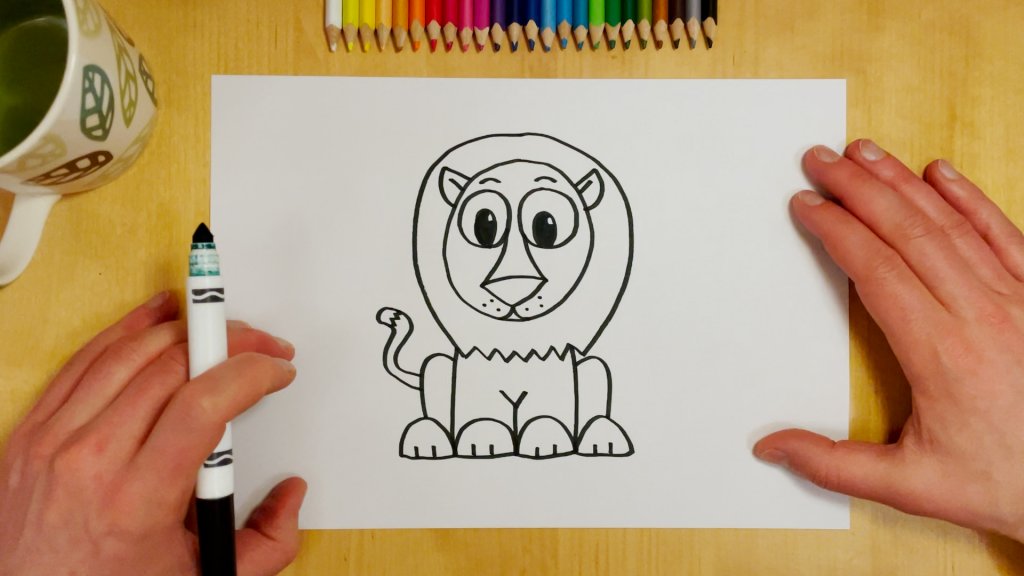
- Finally, draw the cartoon lion’s tail. Draw an S-shaped line out from one side of the body. Add a little curve to the end and keep drawing the line back to the body following first the S-shaped line. Add some zig-zagged line near the tip of the lion’s to add the final detail.
That’s it. Grrrrreat job! 🦁


