Warning: Undefined variable $post in /home/www/otoons.net/wp-content/plugins/multiple-featured-images/Controller/KdMfiApp.php on line 280
Warning: Attempt to read property "ID" on null in /home/www/otoons.net/wp-content/plugins/multiple-featured-images/Controller/KdMfiApp.php on line 280
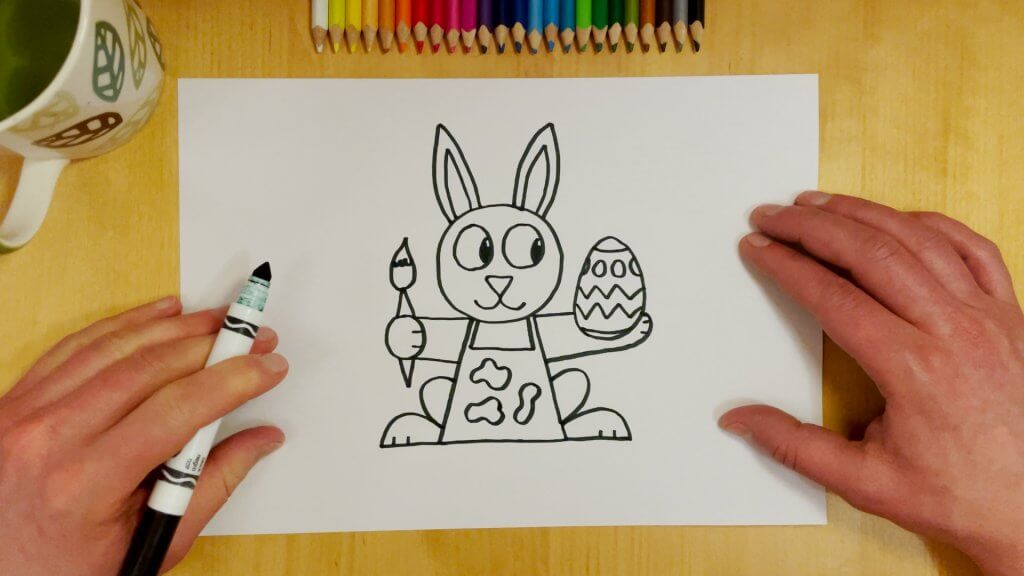
Watch my directed drawing video on how to draw the Easter Bunny
The Easter holiday is coming up this year, so I thought I would should you an easy way to draw the Easter Bunny 🐰. One of our very first drawings was also a bunny, but this time we will draw it painting an egg for Easter. My goal was to make this drawing fun for older kids and adults, but easy enough for younger kids in preschool and kindergarten. Please pause the Easter Bunny video whenever you need to catch up. All you’ll need today is a pencil, pen or marker and sheet of paper. And of course, color it in afterwards. Hop to it! – Patrick O.
Follow these directed drawing instructions that make an Easter Bunny drawing easy to do:
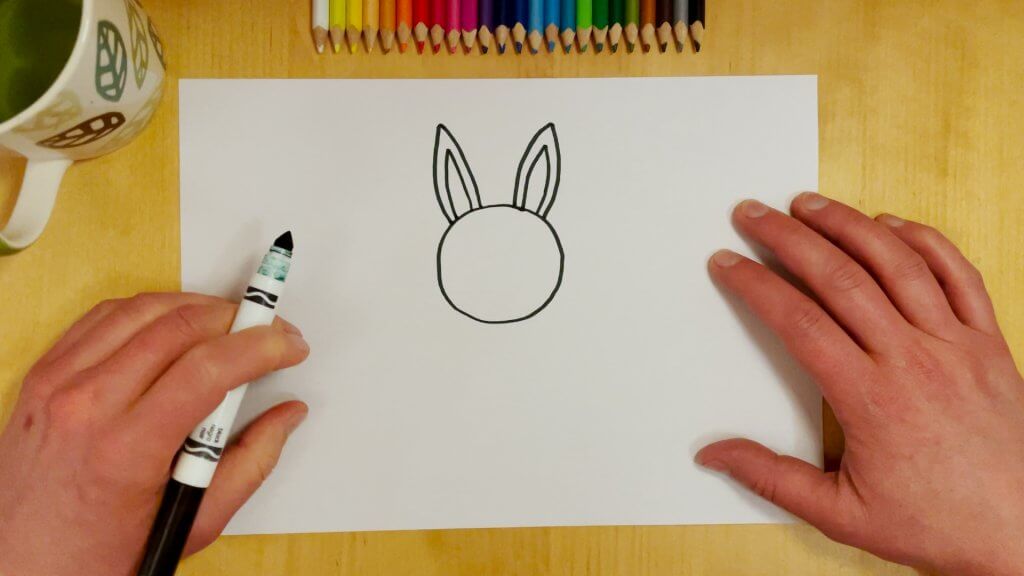
- First, start by drawing the Easter Bunny’s head and ears. Draw a medium circle in the middle of the page for the head. Then on top of the head draw two curved lines that come to a point, slightly to one side. Then do the same on the other side, to make the bunny’s ears. Inside the outlines of the ear, draw the same shape again to add some thickness to the Easter Bunny’s ears.

- Next, draw the eyes, nose and mouth of the Easter Bunny. Inside the head, near the top, draw two circles for the eyes. Add some pupils by drawing curved lines inside the eye circles, and then fill them in. Leave a little white space at the top to make them look shiny. Then below the eyes, draw an upside-down triangle for the Easter Bunny’s nose. Finish by drawing the mouth with two curved lines coming out from under the Easter Bunny’s nose.
- Now let’s draw the body of the Easter Bunny. From the bottom of the head, draw two lines down and at a slight angle. Connect the lines to create a rectangular shape under the head for the Easter Bunny’s body. At the top of the body draw a smaller rectangular shape under the head to create an apron/smock shape on the body.
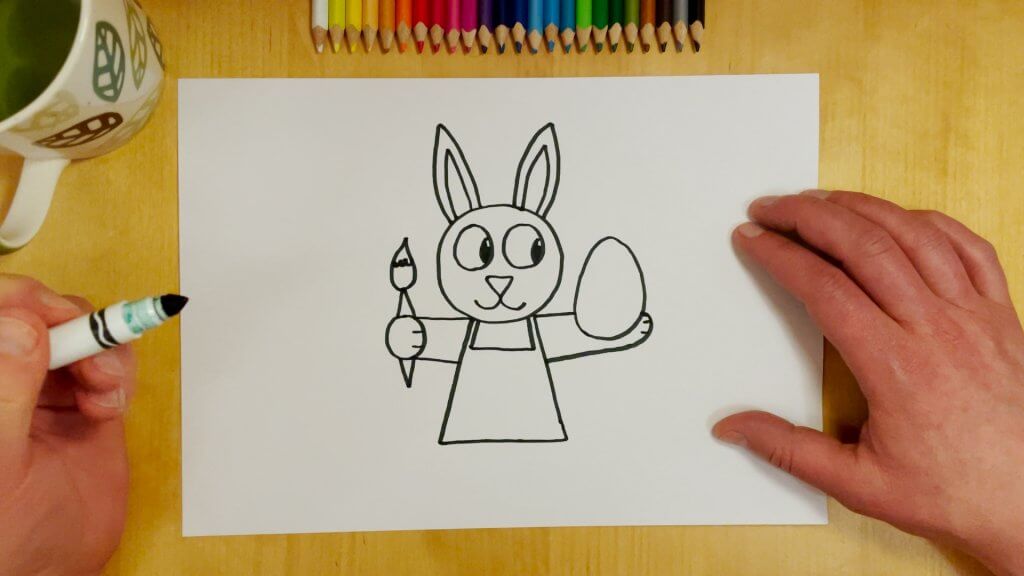
- Draw one arm with a paint brush. Draw a small circle a little way out from the left side of the body. Connect this circle on the top and bottom with lines back to the body. Add some small horizontal lines in the circle to finish the paws of the Easter Bunny. Draw a small triangle shape above and below the paw for the handle of the paint brush. Then finish the paint brush by adding a tear drop on the top, and some curved lines inside for some paint on the tip.
- Draw the other arm holding an Easter egg. A little ways out from the right side of the body draw a big egg shape. Draw one straight line out from the shoulder area to the egg for the top of the Easter Bunny’s arm on this side. Draw another line out from the body, under the first line and curve it around the bottom of the egg. This will make it look like the Easter egg is in the Easter Bunny’s hand. Finish the hand with some small horizontal lines at the end of the arm for the paws.
- Decorate the Easter egg. Inside the egg draw zig-zagged lines, curved lines, symbols, dots, or whatever pattern you think would look cool!
- Draw the Easter Bunny’s legs and feet. From the bottom of the apron on one side, draw a straight line out for the bottom of one foot. Then turn the line and curve it up and back to the body to complete the foot shape. Draw another curved line above this to make the leg sticking out. Finish the foot with some small vertical lines for the paws. Then draw a foot and leg on the other side of the Easter Bunny.
- Finish by adding some paint splatter to the apron/smock. On the apron of the Easter Bunny at some squiggly shapes to make paint blotches – it gets messy when you paint Easter eggs!


That’s it. Very cool! 🐰