Watch my directed drawing video on how to draw a simple optical illusion for kids – a cat/bird!
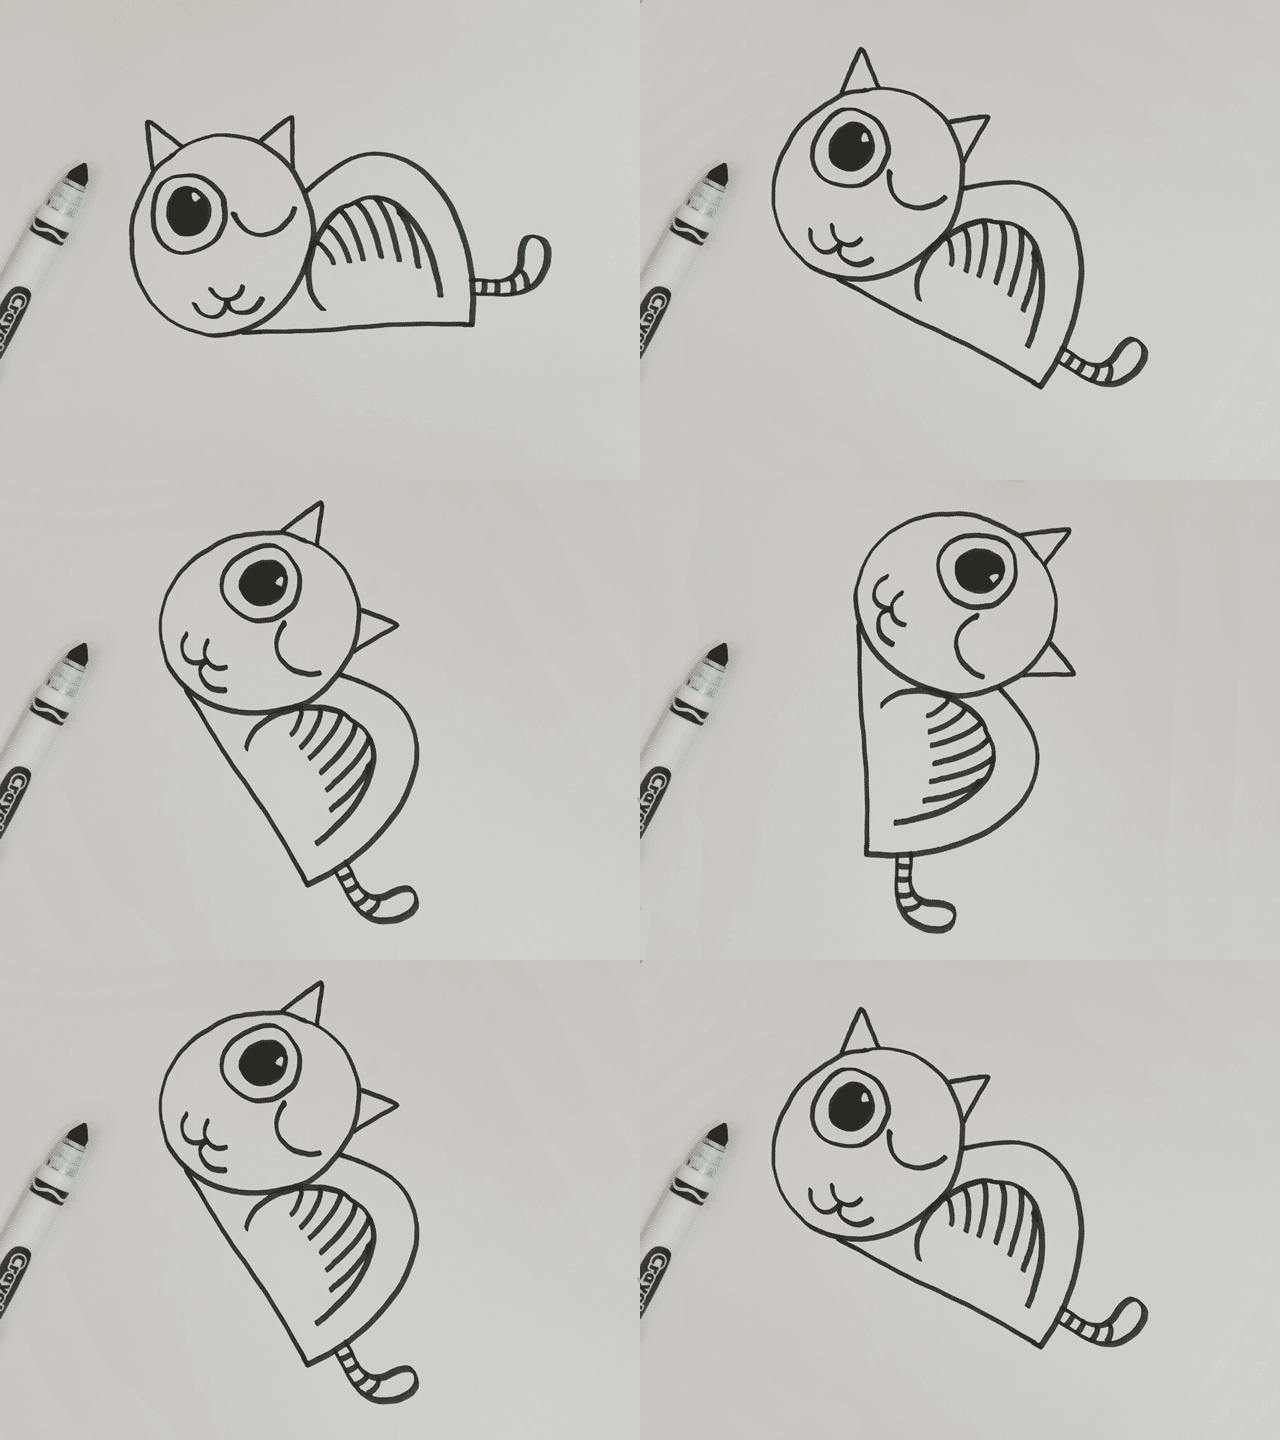
Growing up, one of my favorite artists was M.C. Escher. You have probably seen his impossible staircase drawing Relativity on some teenager’s wall at some point. It was drawings like this that inspired me to create the Alphabetimals – animals shaped like letters to help kids learn their ABC’s. Well today I’d like to show you how to draw a simple optical illusion where a cat 🐱 can be turned sideways to become a bird 🐦! With optical illusions, every line counts. There needs to be just enough lines to see it one way, but not so much that it spoils the other way. I tried to make this optical illusion drawing easy enough for kids in preschool and kindergarten, but still interesting enough for older kids and adults that are just getting started with drawing. Please pause the video if you need to catch up. All you’ll need is a pencil, pen or marker and some paper. And of course feel free to color it in afterwards. Let’s make some magic! – Patrick O.
Follow these directed drawing instructions that make a cat/bird optical illusion drawing easy to do:
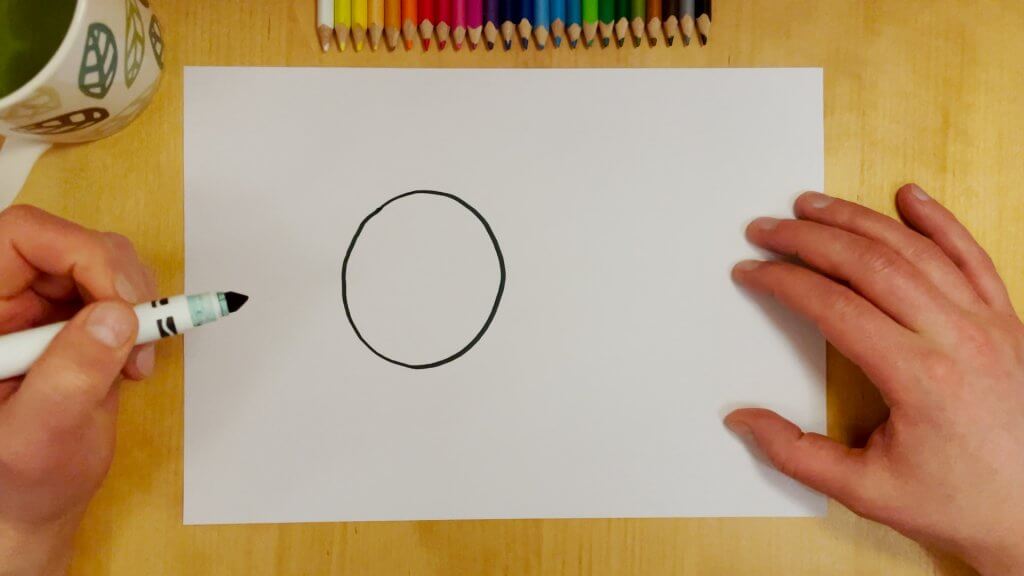
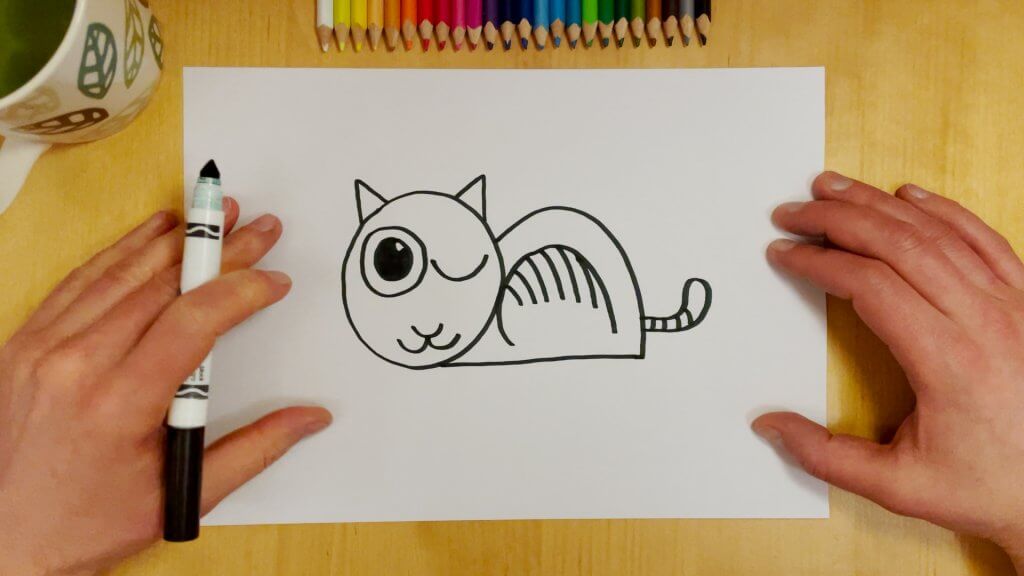
- First, let’s draw the cat’s head. Even though the drawing will be both a cat and a bird once we are done, it’s easier if we just pick one of them to start with. Draw a circle towards the left side of the page. This will also be the bird’s head when we turn the drawing to reveal the optical illusion.
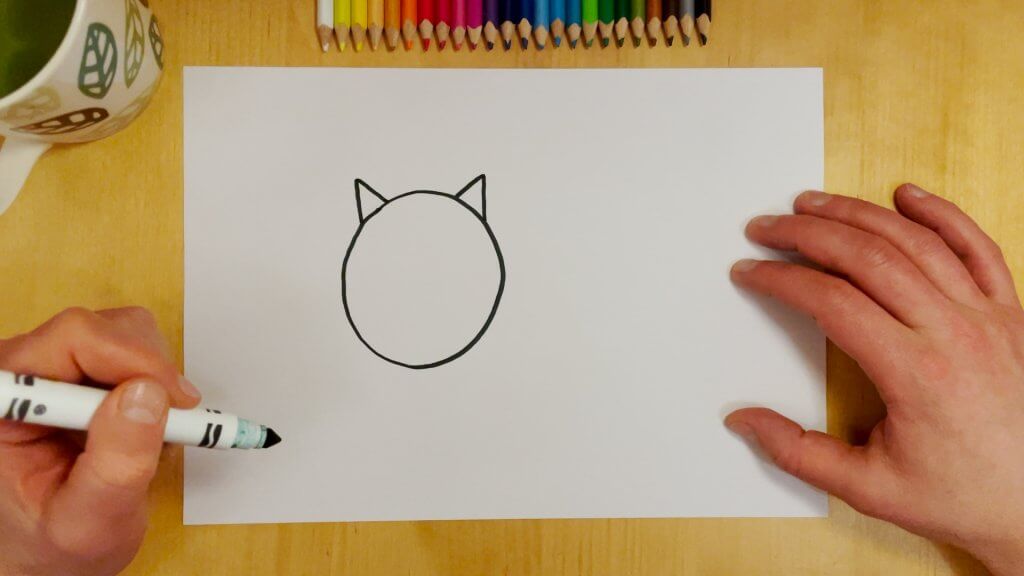
- Next, draw the cat’s ears. This will just be two triangles on the top of the cat’s head. Let’s make them nice and pointy because they will double as the bird’s beak.
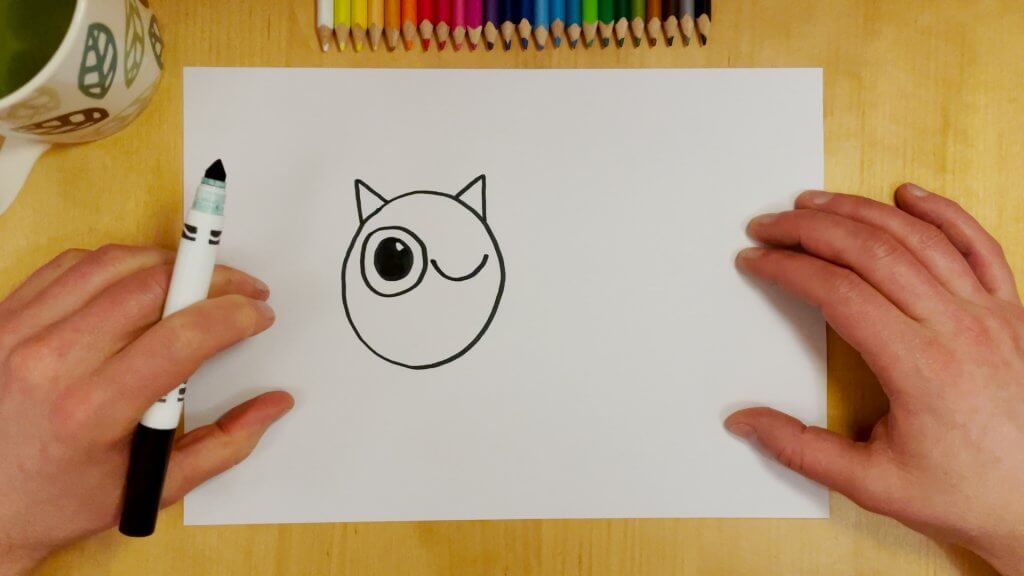
- Draw the cat’s eyes. On the left side of the head draw a circle for the left eye, and another smaller circle inside it for the cat’s pupil. For the other eye, let’s just draw a curved line. This will make it look like the cat is winking, or opening one eye while it sleeps.
- Now let’s draw the cat’s nose and mouth. Let’s keep these simple so that they look like feathers on the side of the birds head when we tip the drawing. Start with a curved line for the nose, and then two more curved lines under it to create the cat’s mouth.
- Then draw the cat’s body. From the bottom of the head, draw a straight line to the right for the belly of the cat – which will be lying down. Then draw a big curved line up and back to the side of the head to finish the rest of the body.
- Next, let’s draw the cat’s hind leg. Again, let’s keep it simple so that the cat’s leg will double as the birds wing when we turn the page to reveal the optical illusion. Draw a line inside the body area of the cat, that follows the curve of the cat’s back.
- Now it’s time to draw the cat’s tail. Draw a line out to the right from the body, and then curve it upward. Round the line back down and follow the first curve back in to the body. Make sure the tail has a curve in it so that it can also work as the leg of the bird in our optical illusion.
- Add some final details. Wrap up the drawing with some small lines on the cat’s tail, and maybe some curved lines on the hind leg for stripes. Maybe there are some other details you can add that will work for both the cat and the bird?
- Try it out! Turn the page sideways and see if the optical illusion works and the bird appears. You may have to do it a few times to get it just right. Good luck!
That’s it. It’s magic! 🎩
